Uncategorized
Transforming a Classic Part 6: Corgi Toys Jaguar Conversion
Corgi Toys Jaguar Conversion: A Focus on the Front-End Transformation
The Corgi Toys Jaguar conversion continues!
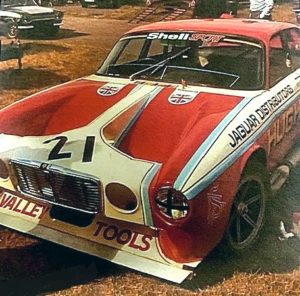
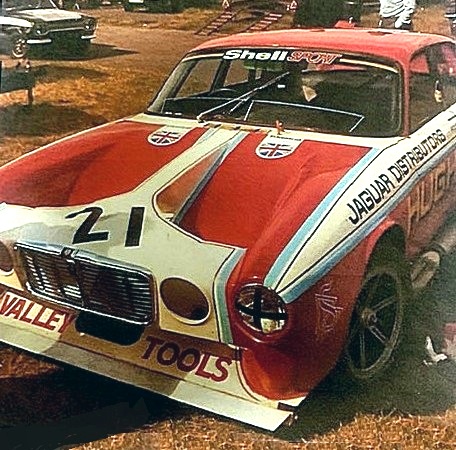
Apart from the very noticeable rear spoiler on the boot, the other distinctive feature of this racing Jaguar is the front of the car where there does not seem to be much of a bonnet!
PICTURE 1 – Scoop for a bonnet.

Creating the Bonnet Scoop for Enhanced Aerodynamics
The real car has a mid-mounted engine installed into the driver’s compartment.
Repurposing the Front Space: Removal of the Original Bonnet
The model was designed with an opening bonnet to reveal a rather nice detailed chromed miniature engine.
I used a combination of junior hacksaw, files and a dremel machine.
The bonnet component won’t be kept but the chromed Jaguar grille will be saved re-used on a new panel fitted across the front of the car.
Constructing the Air Scoop and Front Spoiler
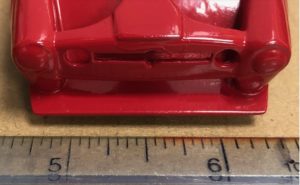
This scoop extended so far forward and angled down towards the surface of the track, it also served as a front spoiler which would be sitting just under the front bumper had the car got one. At its extreme edges it is wider than the front of the car.
PICTURE 2 – front spoiler.

Preserving the Iconic Jaguar Grille in the Corgi Toys Model
Fitted just above this scoop was a single piece of bodywork which served no real purpose and was cosmetically added to help mount the Jaguar grille at the front.
If you look at picture 1 again, it also shows the Jaguar grille in place on the panel which joins the inside front points of the wings. It has a hole each side of the grille which on a real Jaguar would have housed auxiliary lamps. The model won’t have these and the holes are just drilled.
Adding Realistic Details to the Front Spoiler
On the front lower spoiler. There are some interesting little details which have been represented on the model but I am not clear what they were meant for but they had to be made!
The leading edge of the front spoiler is probably an aluminium panel as in some of the picture it is in a silver-grey colour. I could represent this by painting it but would need a very steady hand or…actually make a strip (again another slither of plasticard) in the right colour and glue this in place and this is what I did. Much easier than painting!
Next Steps in the Corgi Toys Jaguar Conversion
NEXT TIME…Some general bits and pieces to be made!


