Blog
Jaguar XJ12C Model Car Conversion: The Final Touches
Welcome to the final part of the Jaguar XJ12C model car conversion.
I think I should now talk about painting the model car.
Preparing for Painting Your Model Car
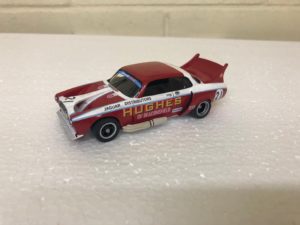
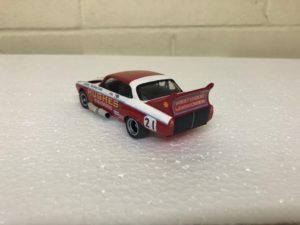
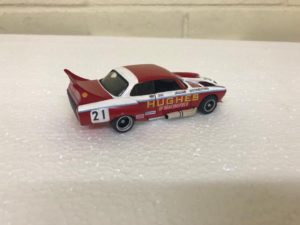
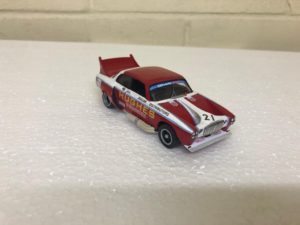
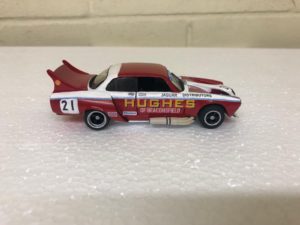
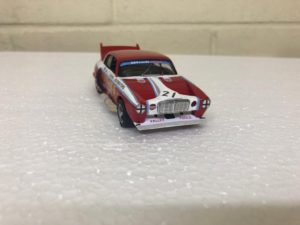
You will have seen from the pictures used so far, the model car is red and white with some pale blue trimming.
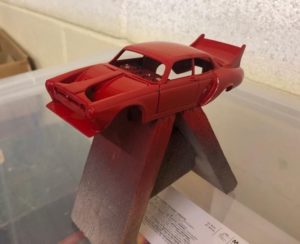
The model car will have to have a base coat of grey primer. This was from the Humbrol Acrylic spray paints range and sprayed directly out of the can. A couple of fine coats is usually enough.
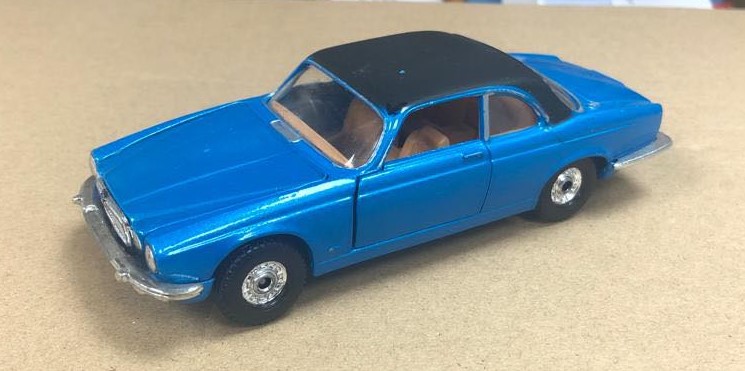
We use a grey, primer because you can not just spray directly onto the model car, especially this one with its many different colours such as remains of the original metallic blue paint, the rear wings with their sections of filler, white plasticard, black plasticard and some areas of bare metal!
Applying the Red Coat for Authenticity
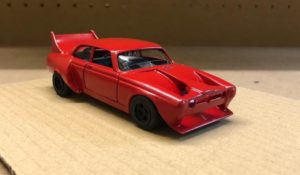
A red was also the Humbrol acrylic spray, again out of the can laying down several fine coats letting each to dry between them.
Troubleshooting: Fixing the Mysterious Circle on the Roof
Spraying models usually goes without any serious problems. This job though did have a serious problem. For some odd reason there was a strange circle on the roof of the model and no matter how many times I sanded this area down to bare metal, once it was sprayed the circle came back and kept coming back!
I tried hand applying some red paint into the circle hoping to build it up to the same level as the surrounding area and once dried, give it a light sanding and polish. Well, this sort of worked but when looking very close you could still see the annoying circle a bit like a ghost image!
I contacted the customer to let him know of the problem and suggested I put a small logo over it but he said no, because one was never applied to the real car in all its various trim periods.
Adding Artwork and Decals to the Model Car
ARTWORK.
The artwork on this car consists of the red and white colour scheme and various sponsorship logos.
All the logos were done in-house (I.E. in the shop) and were either waterslide decals or sticky labels.
One of the biggest problems of making your own waterslide decals is getting the right font and quite often a compromise has to do, so we try and find a font that is close to the original as seen on the real car.
Another problem is colour matching. It it is very difficult getting the colour on the decal to match the colour used on the body. When decals had been applied it was a case of hand painting all around the letters etc with the bodies paint!
With such a project as this model car, there will always be some hand paint finishing so doing extra work around the decals was not a big problem for me to tackle, I have done this many times before.
Detailing the Interior and Exterior Finishes
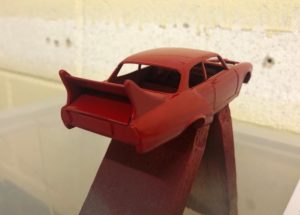
The interior was simply matt black and with the silver highlights on the dashboard, that was enough.
The windows on both doors were made from clear plasticard with the driver side left in a half open position.
The two fuel filler caps mounted just below each rear side window were scrap plastic and painted silver. The wiper is scrap wire (fine fuse wire is ideal for these).
Some thick white plasticard was cut to fit the body and became the new baseplate to hold the wheels on their axles in place and painted matt black.
The whole rear end detail was simply thin card with the rear lights and the two large outlets drawn on then cut to fit the back of the model car, not ideal but this was a last minute addition and when the customer saw what I had done, he was most impressed with the final look.
Finishing Touches: Gloss Varnish and Customer Satisfaction
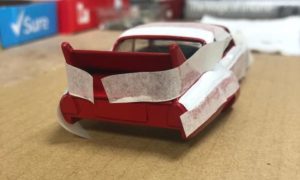
The whole of the body with all the artwork added was painted in acrylic gloss varnish to help seal the decals.
Overall the model car looks fine and fulfilled the customers requirements. There were a few small delicate items on the model and I expect one day I may see it come back into the shop for some minor restoration which I will do, as that is another service we can provide.
