Blog
Jaguar XJ12C Conversion: Crafting Details with Milliput
Corgi Jaguar XJ12C Conversion using Milliput fillers
So, here we are with our Corgi Jaguar XJ12C conversion.
A few words about the Corgi model. It comes from a period when Corgi adopted the 1/36th scale to supplement their usual 1/43rd scale. Made of mazac metal, it is quite a hefty model, offering a lot of value for the money!
Crafting Custom Rear Wings: The Role of Milliput
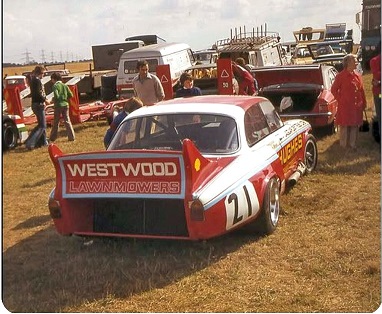
It was very important I created the distinctive very wide rear wing and wheel arch panels as you can see in the enclosed picture showing the back of the real car.
I found some grey plastic tubes which originally held a roll of paper for the shops proof of purchase receipt machine which when cut in half seemed to be of the right size and shape for the wings.
Milliput does act as an adhesive so the plastic tube sections can be applied directly to the rear of the model even though the model is made of a die cast metal, Milliput will stick to this material.
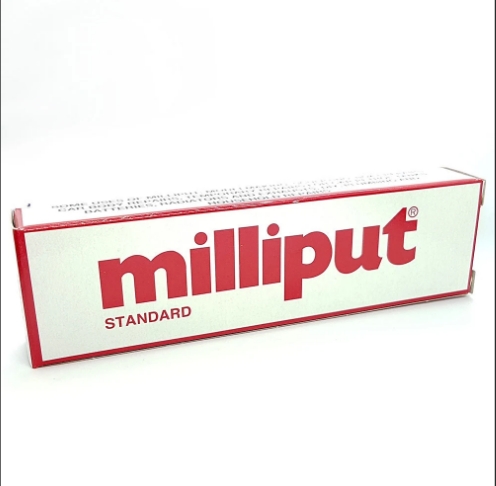
Preparing the Surface: Ensuring a Strong Bond with Milliput
To ensure a good bond, the surface of the metal is prepared by the use of several modelling files which gives it a rough surface to help grip the Milliput sets hard and then the model is placed in vice and left overnight as shown in the picture.
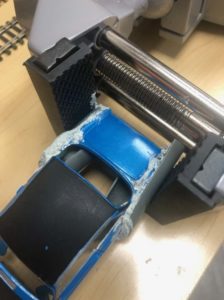
Once this work is set nice and hard and can be handled, I go over the entire area with medium-grade grit paper. I then work down to a really fine grit paper for a super smooth finish, ready for a grey primer.The primer and paints I will be using are what we stock in the shop so consist of Humbrol brands or the occasional Revell brand.
When it comes to the actual paintwork it would be nice to be able to spray the model which for the base coats I did and again this was with the Humbrol acrylic sprays also stock within the shop. Final painting will consist of some hand touch ups because of the very nature of the two-tone paint scheme on the real car.
Next time…
Working on the ‘A’, ‘B’ and ‘C’ pillars.
